> ## Documentation Index
> Fetch the complete documentation index at: https://gcore-doc-1046.mintlify.site/llms.txt
> Use this file to discover all available pages before exploring further.
# Create a Container Registry
Container Registry provides a centralized location for all OCI-compatible artifacts, such as container images and Helm charts, making it easy to view and manage them in one place.
Use the following steps to add a new registry. For instructions on how to manage an existing registry, check out our [dedicated guide](/cloud/container-registry/manage-container-registries).
To create and manage the Container Registry, you need to have the [Project Administrator](/cloud/getting-started/projects/users/user-roles-and-rights#project-administrator) or [Client Administrator](/cloud/getting-started/projects/users/user-roles-and-rights#client-administrator) permissions.
## Step 1. Add a registry to the customer portal
Start by creating a registry to which you will push OCI-compatible artifacts:
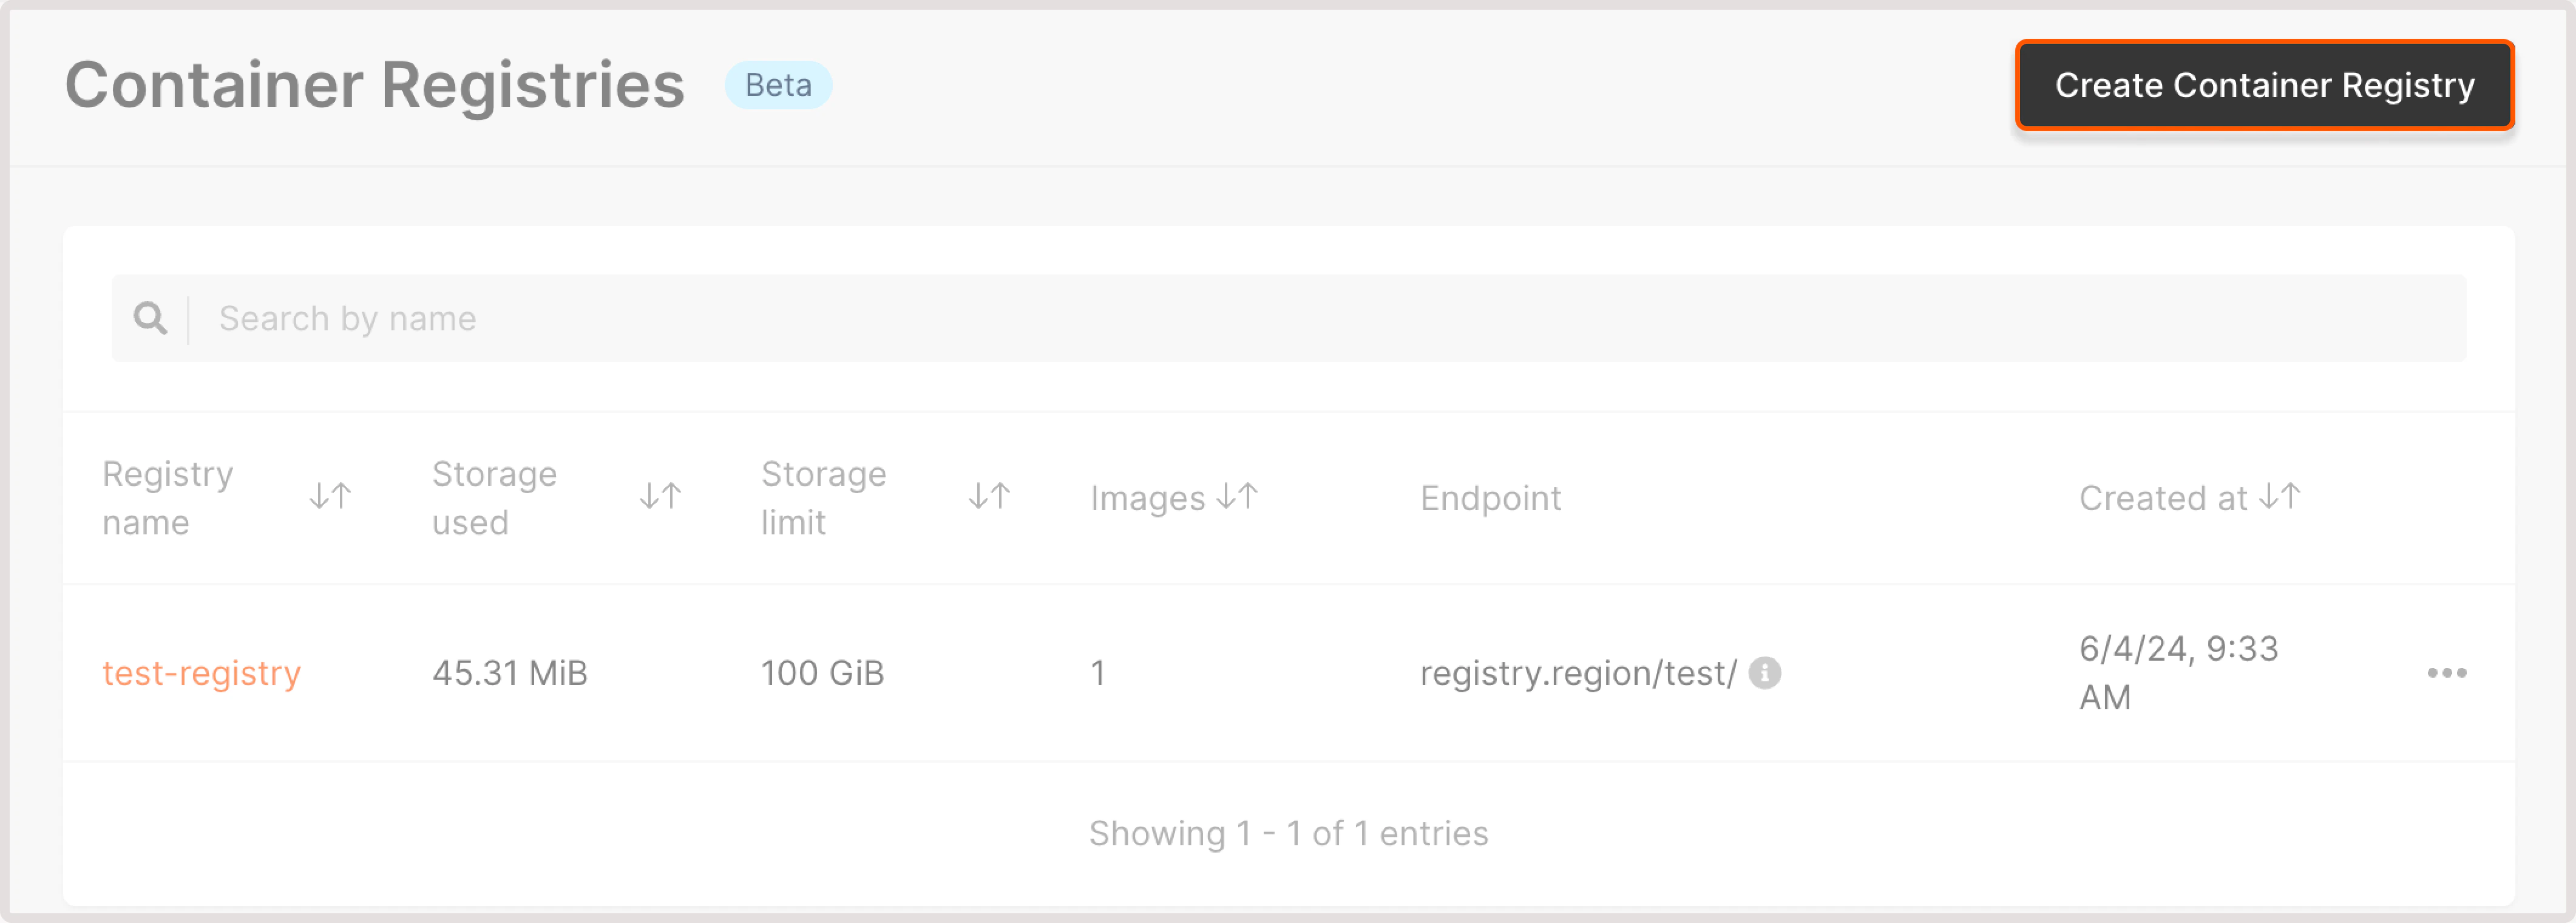
1\. In the Gcore Customer Portal, navigate to **Cloud** > **Container Registries**.
2\. Click **Create Container Registry**.
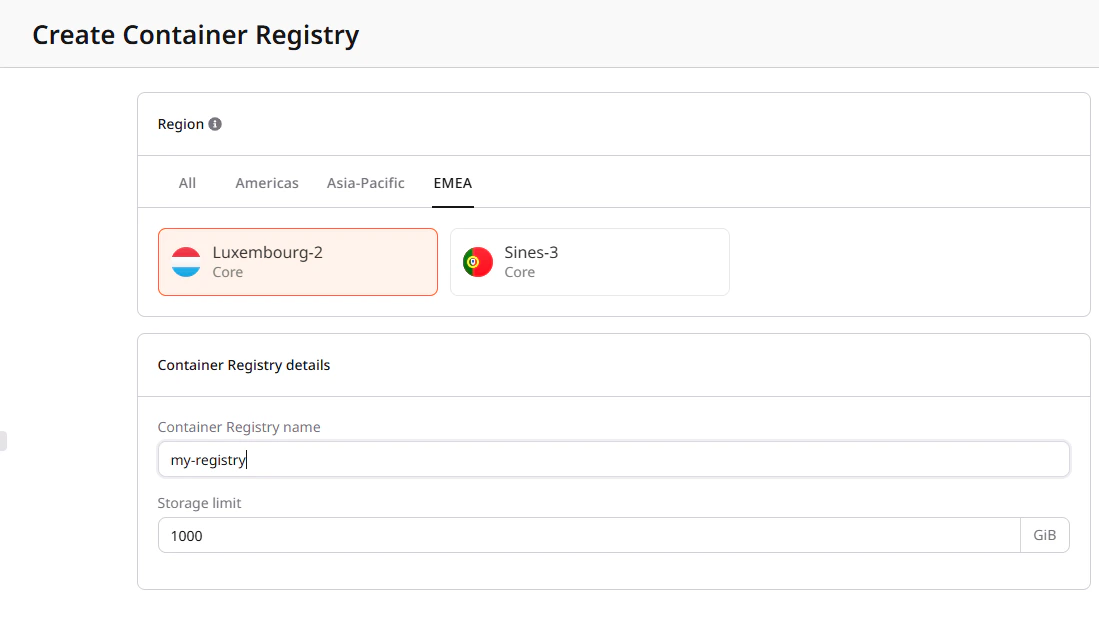
 3\. Choose the region for the registry location. If you plan to store and manage images for other Gcore services, select the same region where those services are created.
4\. Specify the registry name.
**Tip**
A registry name should consist of lowercase Latin characters, which can be separated by dashes.
5\. Indicate the storage limit. It defines the amount of data that can be stored within the registry, including Docker images, artifacts, and image versions.
6\. Click **Create Registry**.
3\. Choose the region for the registry location. If you plan to store and manage images for other Gcore services, select the same region where those services are created.
4\. Specify the registry name.
**Tip**
A registry name should consist of lowercase Latin characters, which can be separated by dashes.
5\. Indicate the storage limit. It defines the amount of data that can be stored within the registry, including Docker images, artifacts, and image versions.
6\. Click **Create Registry**.
 The registry will appear along with the other registries on the **Container Registries** page.
## Step 2. Create a user
To push and pull images from the registry, you need to authenticate as a particular user who has the required permissions for such operations.
To add a new user to the registry:
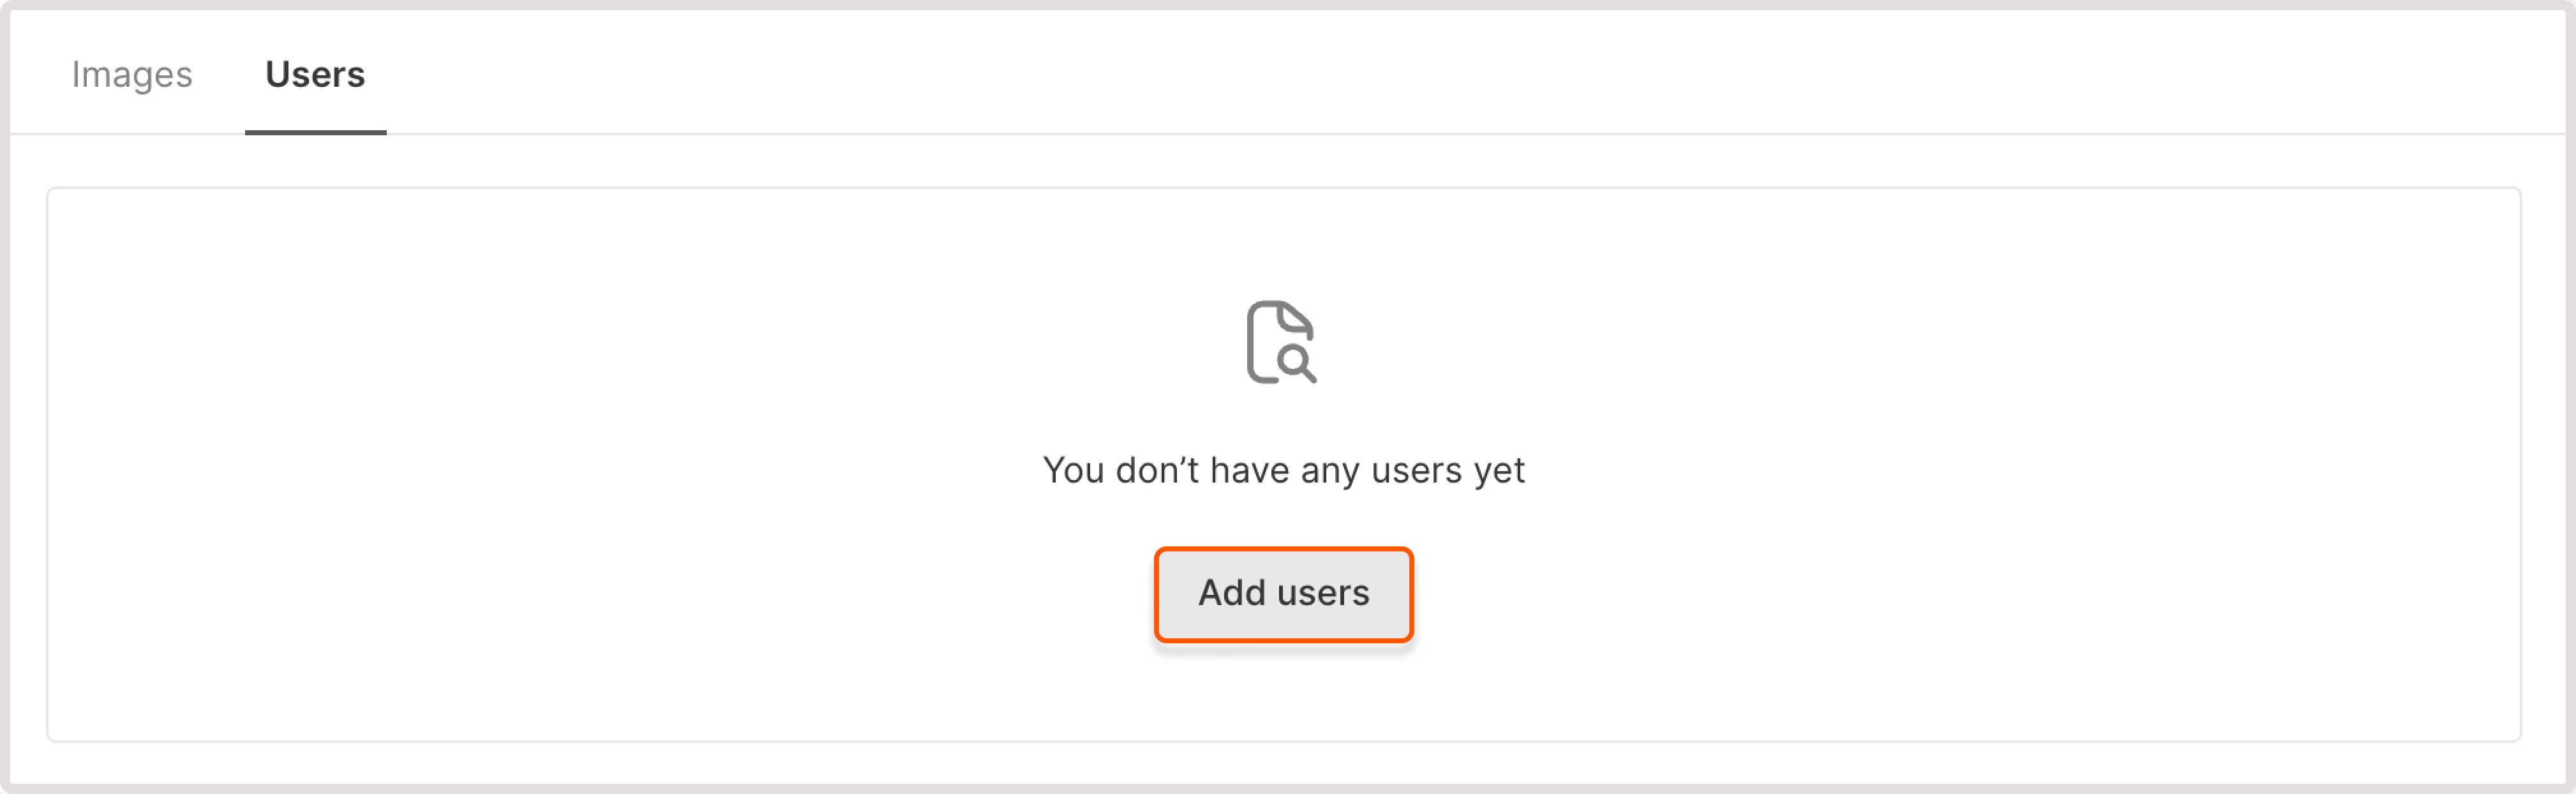
1\. Click the registry name to open it.
2\. Open the **Users** tab and click **Add users**.
The registry will appear along with the other registries on the **Container Registries** page.
## Step 2. Create a user
To push and pull images from the registry, you need to authenticate as a particular user who has the required permissions for such operations.
To add a new user to the registry:
1\. Click the registry name to open it.
2\. Open the **Users** tab and click **Add users**.
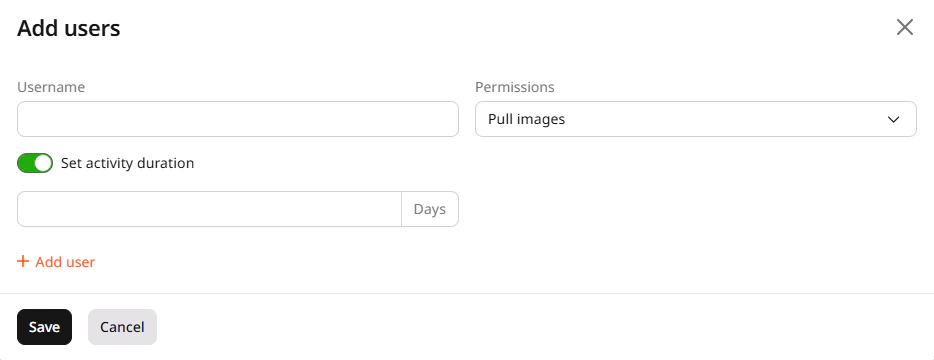
 3\. Configure the user and its access:
* **Username** : Enter a username. It should consist of lowercase Latin characters, which can be separated by dashes.
* **Permissions** : Allow a user to either push or pull images to the registry or do both operations.
* **Set activity duration** : enable this toggle to set the expiration date for user credentials. If you leave the toggle disabled, the user will retain indefinite access to the registry.
4\. Click **Save**.
3\. Configure the user and its access:
* **Username** : Enter a username. It should consist of lowercase Latin characters, which can be separated by dashes.
* **Permissions** : Allow a user to either push or pull images to the registry or do both operations.
* **Set activity duration** : enable this toggle to set the expiration date for user credentials. If you leave the toggle disabled, the user will retain indefinite access to the registry.
4\. Click **Save**.
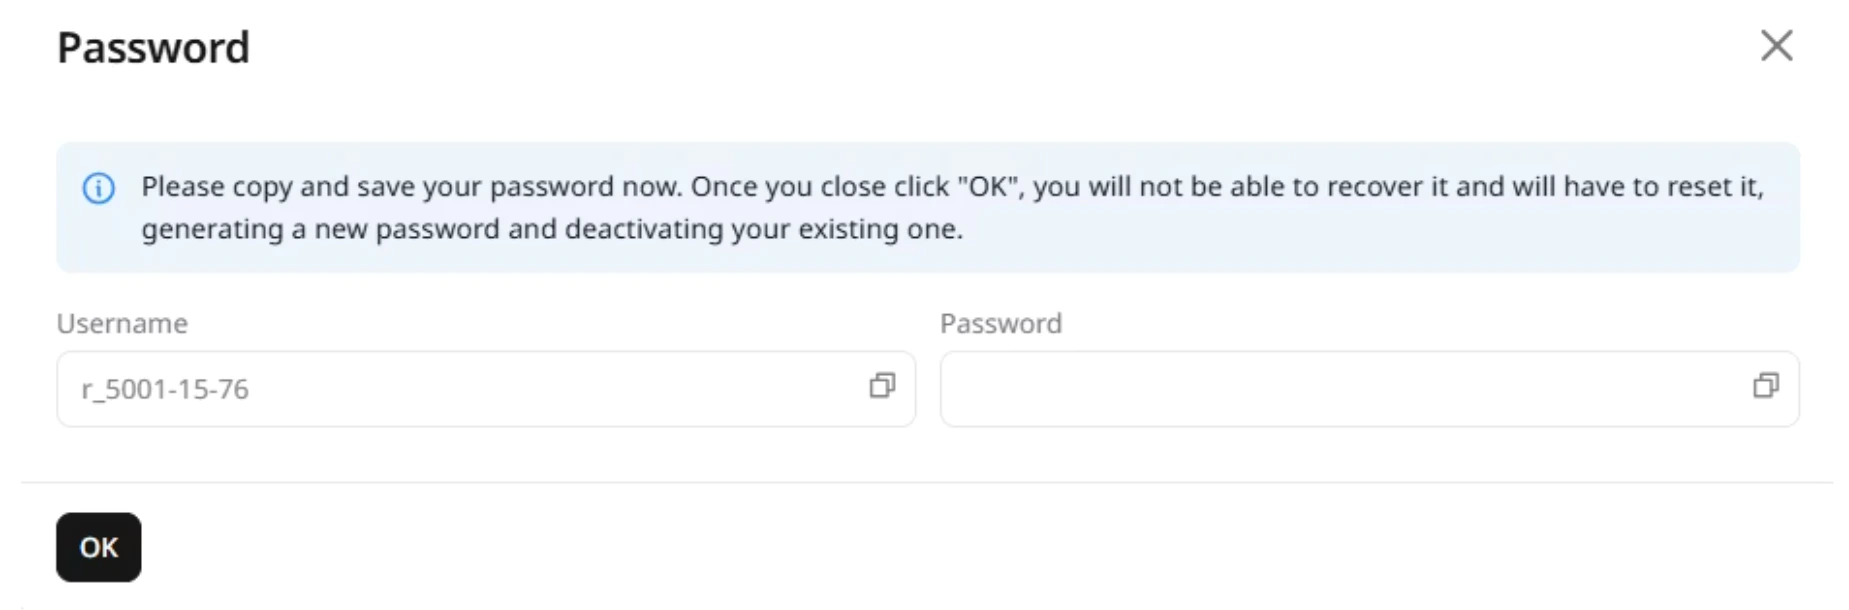
 5\. Copy and save the generated user password because you won't be able to check it again. If you forget the password, you'll have to regenerate it.
 You can now log in as the created user and push or pull images from the Container Registry, as described in the following steps.
## Step 3. Push your image to the container registry
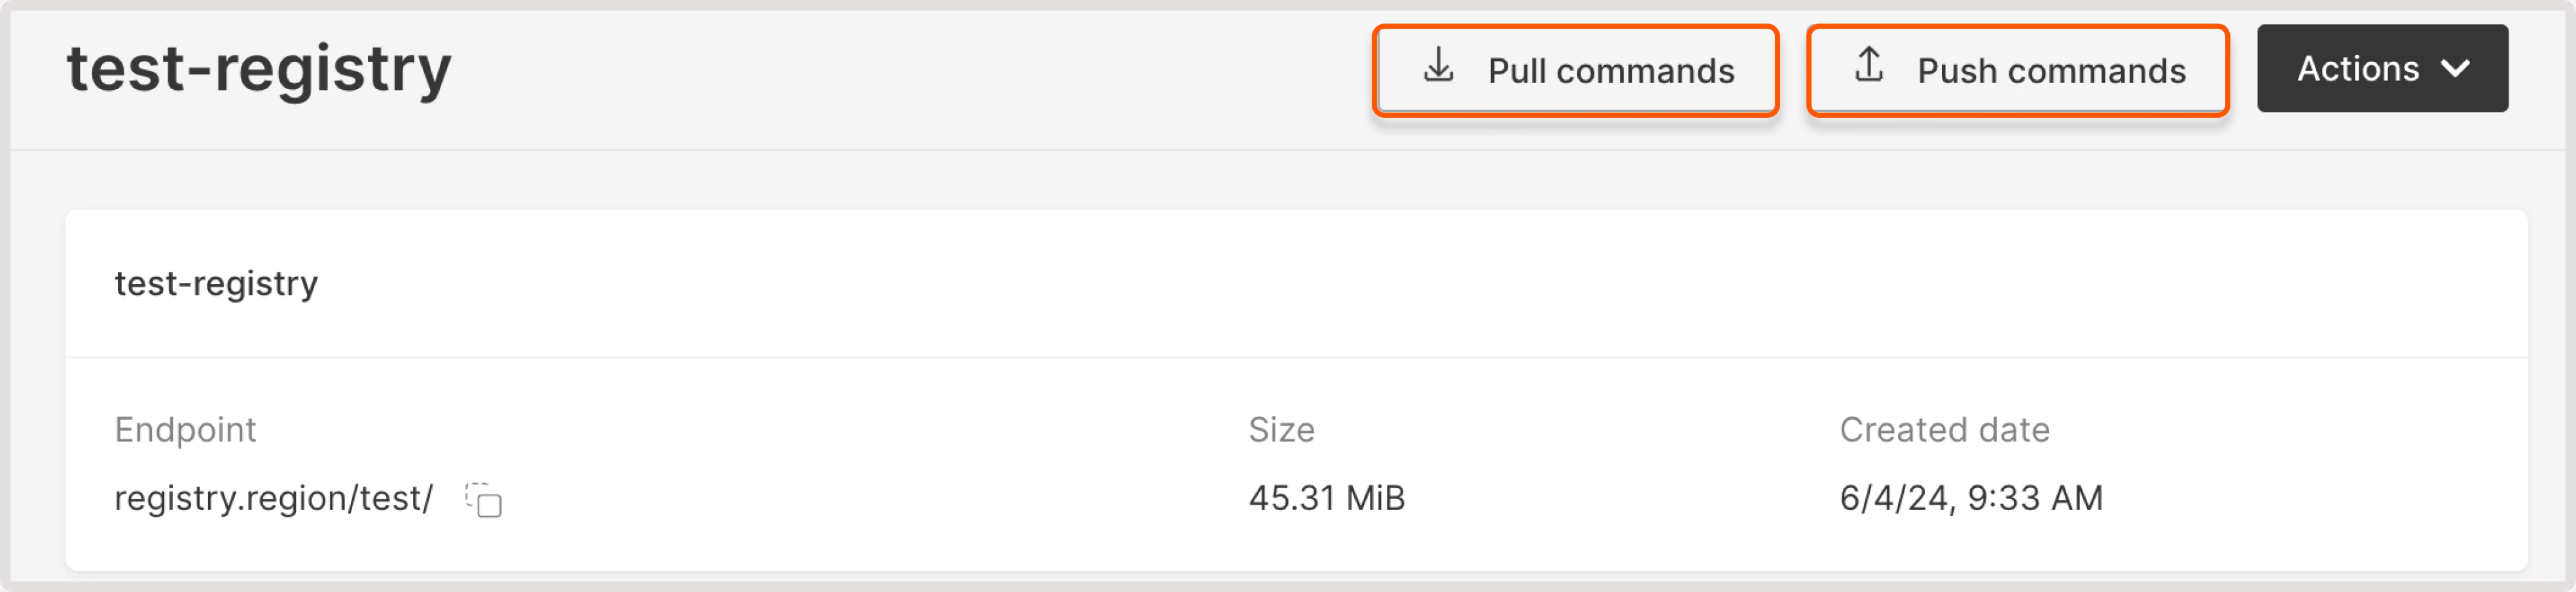
When you open a registry, you can view the sample push and pull commands by clicking the relevant buttons.
You can now log in as the created user and push or pull images from the Container Registry, as described in the following steps.
## Step 3. Push your image to the container registry
When you open a registry, you can view the sample push and pull commands by clicking the relevant buttons.
 To push a Docker image to the registry:
1\. Log in to the registry: docker login ``. For example, `docker login registry.luxembourg-2./10-01-test/`.
2\. Enter the username of the user created in [Step](/cloud/container-registry/create-container-registry#step-2-create-a-user).
3\. Enter the user password.
4\. After you enter the credentials, you should see the "Login succeeded" message.
5\. (Optional) Tag your image: `docker tag source_image:tag target_repository:target_tag`.
6\. Push an image to the registry: `docker push `.
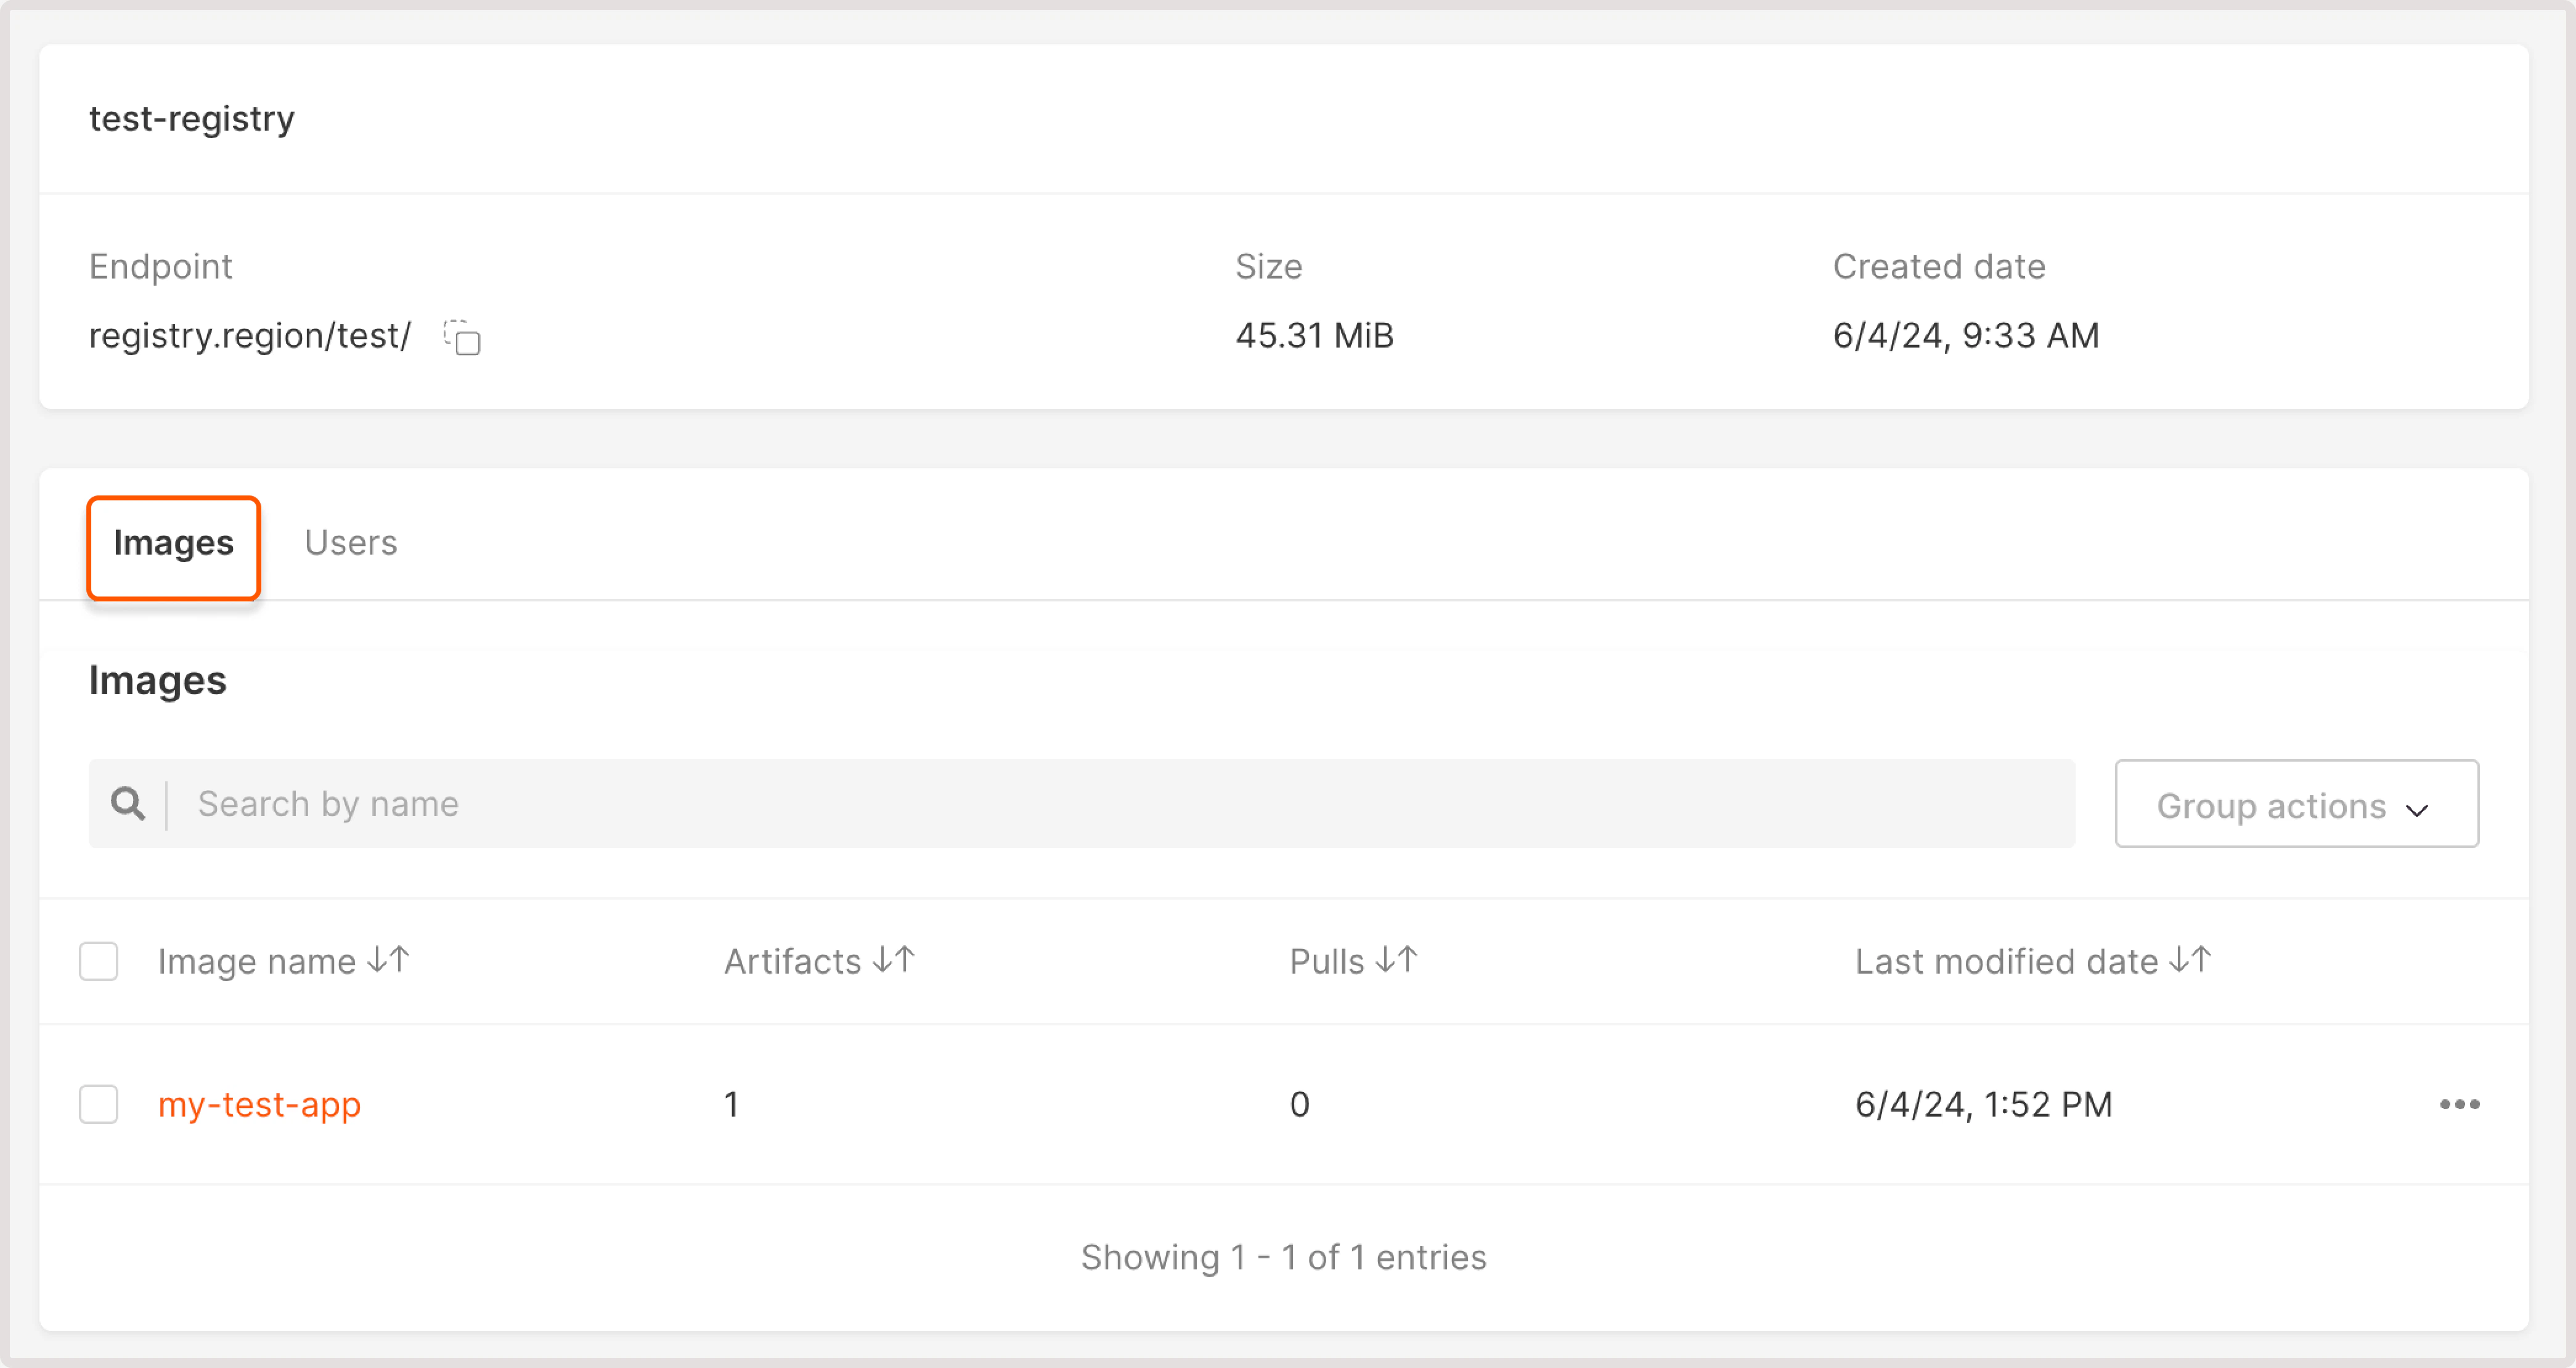
The image will appear in the Container Registry on the **Images** tab.
To push a Docker image to the registry:
1\. Log in to the registry: docker login ``. For example, `docker login registry.luxembourg-2./10-01-test/`.
2\. Enter the username of the user created in [Step](/cloud/container-registry/create-container-registry#step-2-create-a-user).
3\. Enter the user password.
4\. After you enter the credentials, you should see the "Login succeeded" message.
5\. (Optional) Tag your image: `docker tag source_image:tag target_repository:target_tag`.
6\. Push an image to the registry: `docker push `.
The image will appear in the Container Registry on the **Images** tab.
 For instructions on how to view and manage images, check out the [Manage Container Registries](/cloud/container-registry/manage-container-registries) guide.
## Step 4 (Optional). Pull the image from the container registry
If you want to test how to pull the image and verify that everything works as expected, use the following command:
```sh theme={null}
docker pull
```
The image will be pulled locally.
For instructions on how to view and manage images, check out the [Manage Container Registries](/cloud/container-registry/manage-container-registries) guide.
## Step 4 (Optional). Pull the image from the container registry
If you want to test how to pull the image and verify that everything works as expected, use the following command:
```sh theme={null}
docker pull
```
The image will be pulled locally.